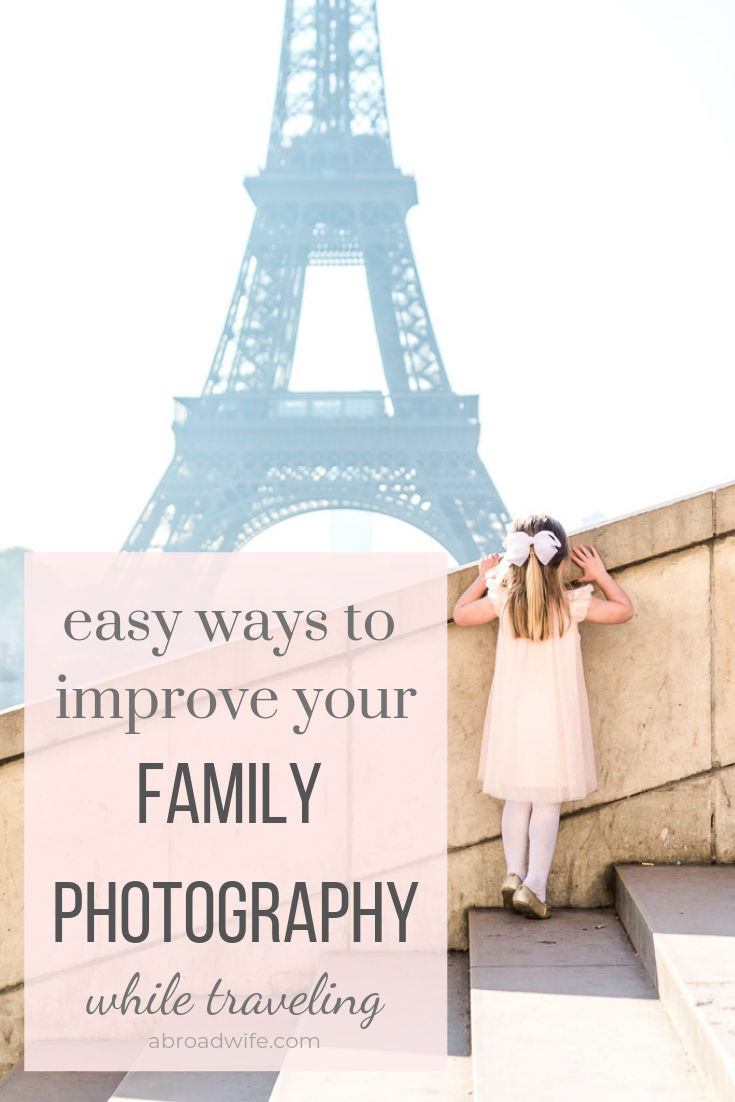
Easy Ways to Improve Your Family Photography While Traveling

Some of the best possible souvenirs to bring home from all your amazing travel are great travel photos! Our photos from traveling are our most prized possessions. We have been traveling and using a DSLR camera for years, but only recently have we really honed our skills and learned how to take better quality images. I’m by no means a professional, but I have learned a few things along the way that have really helped improve our images. In this post, you’ll find some of my favorite travel photography tips for beginners. You do not need a DSLR camera for these tips! You can apply these things with whatever camera you currently own and still have better photography.
This post may contain affiliate links. Affiliate links are no extra charge to you, but I may earn a small commission if you chose to make a purchase. See disclosures for more details.
MY BACKGROUND WITH FAMILY PHOTOGRAPHY
I have been using a DSLR camera for about 7 years but only really started to learn about photography about 3 years ago. I am trying to share what I’ve learned in hopes that it will be helpful for others.
We bought a DSLR when we found out we were moving to Germany. We were convinced that having a nice camera would give us amazing pictures. We were partly right, it did give us better quality pictures than our phones would have but we still had so much to learn.
I took the first step in learning how to shoot in manual mode when I took a class with the photographer who had shot my maternity and newborn pictures in California. After I learned the photography basics with her, I met another photographer who started offering free photography classes that were kid-friendly. She taught about a certain aspect of photography then let us experiment on our kids in a very casual, non-intimidating environment.
We also had a Facebook group where we would post pictures we had taken each week that went with a theme. This helped us all get constructive feedback. From there it has been a lot of practicing, YouTube videos, and self-directed learning. One of the best ways to improve your family photography is practice, practice, practice. The more you shoot, the more you will learn.
I have been getting questions about editing as well, but I will save that for another post. In this post, I will cover more strategies and techniques I use while I’m traveling (and when I’m not) to get the best possible pictures I can.

GET UP EARLY
This is one of the best pieces of advice I have and it isn’t anything technical. The best way to get photos without hordes of tourists in the background is to get up early and get to your photo spots before everyone else does.
What do I mean when I say early? Well, if you want a photo at the best picture places like the Eiffel Tower in Paris or on the Charles Bridge in Prague, you need to check what time the sun rises and aim to be at your location within 30 minutes of that time. In the summer that means you will have to get up very early, but it will be worth it! You will leave with amazing travel photos.
I don’t recommend doing this every day, I know my family would burn out. Pick the main attraction or two that you really want photos of, pick a day, and just suck it up and wake up early. After you finish taking your photos head out to an early breakfast and some coffee. Treat everyone for getting out of bed and out the door on time. If everyone is tired after that, there’s no harm in heading back to the room for an afternoon nap. It’s tough to get out of bed so early, but I promise you won’t regret it.

Mother daughter picture on an empty Charles Bridge in Prague.
THINK ABOUT YOUR CLOTHING WHILE YOU PACK
I’m not saying you need to treat every day on your trip as a photoshoot, but it kind of is! Of course, you want to be practical and comfortable, but put some thought into what’s going in your suitcase and how it will look in a photo.
I try to avoid logos, characters, and loud designs for the kids and stick to a lot of neutrals and soft colors. I try not to be too matchy-matchy, I don’t want everyone in jeans and white shirts. This doesn’t necessarily mean I’m packing a bunch of fancy clothes to wear. The clothes can be basic and casual as long as they coordinate.
Something that has helped me coordinate our outfits was having my colors analyzed. This means I worked with someone who was trained to find out what the most flattering color palettes for me are. My best colors are softer, lighter colors and that’s what I try to buy now. To make it easy, I also tend to buy the same types of colors for my kids. This way we always kind of go together but I don't have to work really hard to find coordinating outfits.
Even if you don’t know your colors, you can stick to a lot of neutral colors, and colors that complement each other. This will give you more options that look like they go together without being exactly the same colors on everyone. Everyone should wear something slightly different but with similar color patterns. The main goal is that the tones look nice together and the clothing isn’t a distraction in the photo.
This applies to my husband too. I don’t micromanage what he packs, but I definitely give him some input on what I would prefer him to wear on a morning where we are trying to get some family photos. Your clothes can really take an OK travel picture to a very nice picture worth hanging on the wall.
BRING A TRIPOD AND REMOTE
Getting everyone in the photo is surely a challenge when you’re traveling. You can always try handing your camera off to a stranger, but I’ve had more frustrations with this than good results. We prefer to bring a lightweight, collapsible tripod and camera remote with us.
I admit, it can be annoying to get everything set up and it does take a bit more time. However, having the control to frame the photo how we want, adjust the settings, and take as many photos as we feel necessary is worth it to me.
Normally my husband is the one who does the basic setup of the tripod, then I get behind the camera to adjust framing and settings while he stands in as a model while I take a photograph. One of you needs to be in the frame for test shots to make sure you are getting the settings and the framing set up properly.
Once I feel everything is where it should be, I jump in with the family and we click away on the remote. We stop every so often to run back and check that the photos are looking the way we want. If not, we adjust what we need to and keep going. It is a process, but we have been very happy with the results and have some great family pictures from across Europe!
We use this tripod. It’s lightweight, collapsible, and it fits underneath the stroller.

In the past, we have used one like this with flexible legs that you can wrap around things.

Here’s the remote we use for our Canon camera:


HELP YOUR PARTNER
A lot of women asked me how I get my husband to take decent photos. My husband enjoys photography, is willing to take the camera, and has his own travel photography ideas. We don’t always have the same vision and I can’t expect him to read my mind, so I show him exactly what I’m hoping for. He doesn’t know all my Instagram feed ideas, so I have to help him understand what I’m trying to do!
I will set the camera settings exactly how I want them. I take a few test shots so I can show him how I want the picture framed as well. Then I let him do his thing. It really helps if you can be patient with each other. He has to be patient enough to take more than 3 pictures and you have to be patient enough to let him try a few times to get the picture you want.
Communication is key here just like it is a key part of relationships. Talk to each other about your photoshoot ideas, what you’re looking for, and how you can get what you both want-even if that means setting a time limit for how long you spend taking pictures so you can enjoy your time together.

LET KIDS BE SILLY
I don’t know about your kids, but mine only have a certain threshold for smiling for photos. So in an effort to keep them happy and make our kids photography better, we let them roam and play nearby until we are ready to start snapping. This works while getting set up for family photos, but also for getting the kids’ portraits as well.
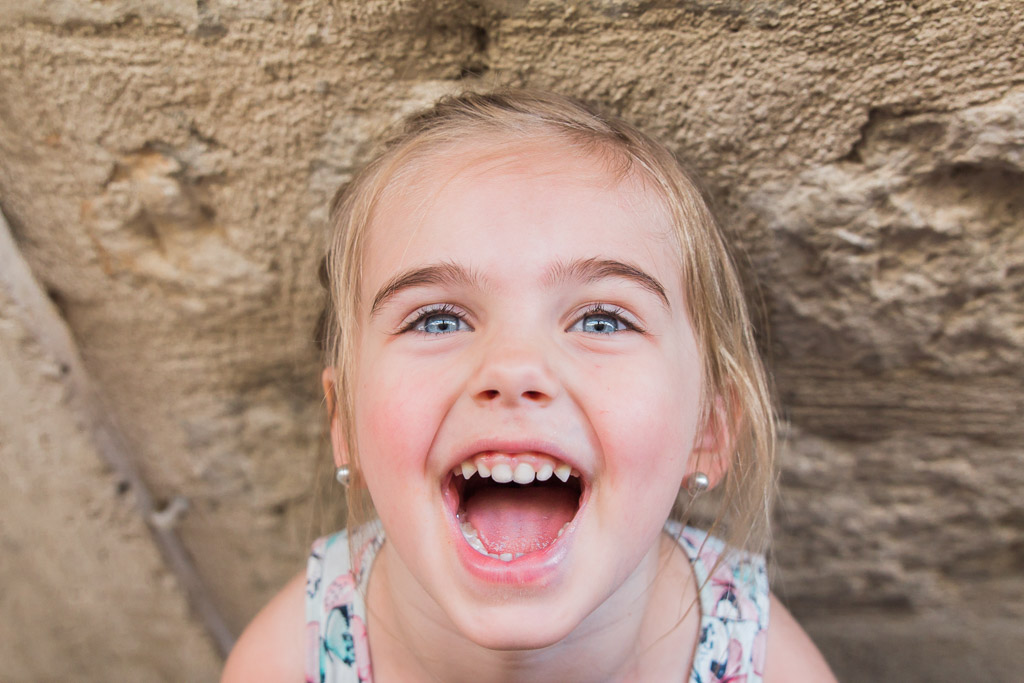
Instead of always having the kids stop, pose, and smile for the camera, I try to catch them playing in these incredible places we visit. It often leads to better, more natural smiles and some more unique pictures overall. Candid photos are often some of my favorite and it really avoids the dreaded toddler “cheese” smile.
To get genuine smiles for family photos, we often hold the kids which keeps everyone’s heads about the same level and also makes it easy for us to tickle them while snapping photos. Tickling them is another way we get happy laughs and smiles instead of forced grins. And if all else fails, try throwing out some fart noises or saying “poop”-most of the time that is a guaranteed laugh from the kids. All the best images we have usually originate from tickling, silly words, or silly behavior.

LIGHTING
You’ll hear the best travel photographers (and photographers in general) singing the praises of “golden hour” which is the hour before sunset and the hour after sunrise. It is ideal lighting for photos. Let’s be realistic though, you’re going to want to take photos at all times of day and can’t always time things out to be shooting at golden hour. You can get cool photos any time of day if you’re thoughtful about how you take them!
The best kind of lighting for photos with your family in them is soft, even lighting. While you might think a sunny day is perfect photo weather, it actually can cause harsh shadows that aren’t flattering in pictures. If you have an overcast day, that is perfect! Nice, soft, even lighting.
Also, look for areas of open shade, I know that sounds counter-intuitive but trust me it will look better than being out in a sunny area squinting. Try to avoid areas of dappled light, this can often occur under trees where there are spots of sun and spots of shade. It will make a spotted look on your faces and it’s hard to correct even with editing.
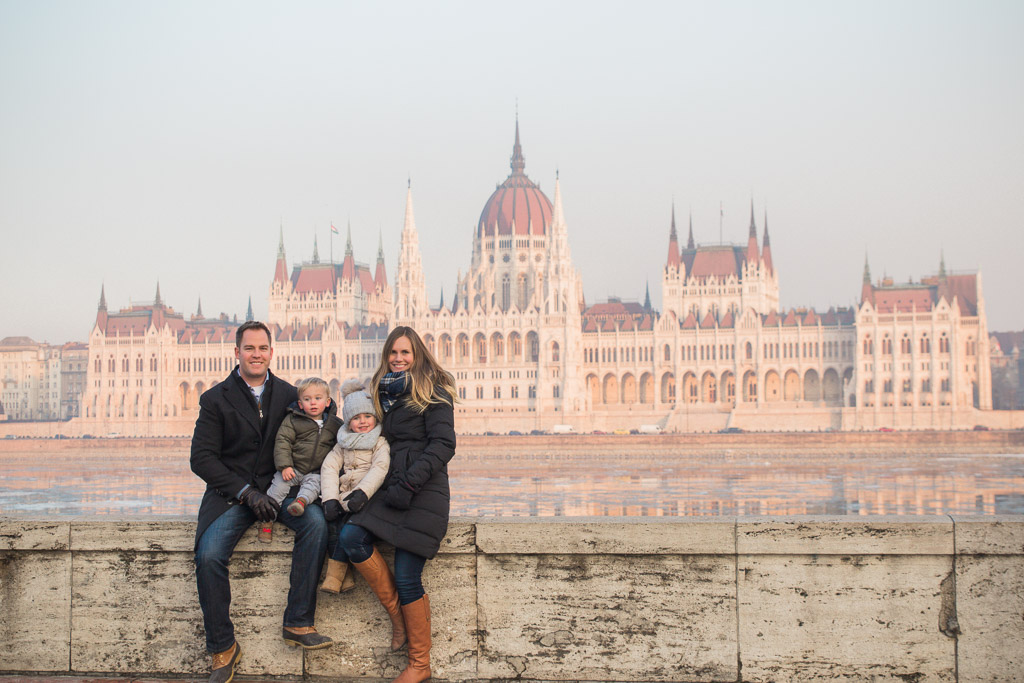
See more about beautiful places in Budapest here.
FRAMING
Framing means what is included in the frame of your picture. You always want to think about being careful to not cut off the tops of people’s heads, or important buildings/architectural elements.
Also be aware of including unnecessary foreground, random light poles, ugly signs, trash cans, etc. Are you always going to be able to keep these types of things out of your photos? Probably not. But being aware and trying to move your body, re-angle the camera, zoom in or out will go a long way to creating a pleasing photo versus a distracting one.
Another thing to pay attention to is the horizon line. Try to make it straight in the camera. You can also correct this with editing later, but it’s always good to try and get things right before you push the shutter button. This is the first thing I always fix on my photos!
Also under framing consider the rule of thirds. Imagine your photo screen divided into a 3x3 grid. Try to place your subject at the intersections of the lines instead of squarely in the middle. This will make your photo more visually interesting.

EXPERIMENT
Don't’ just snap one picture and call it a day! Try different things, shoot from above, from below, change your angle, a different vantage point. All of these things can completely change the feeling of a photo. Spend time trying your creative travel photo ideas!
When you’re in the photo, check how they are looking and if you don’t like how you’re holding your head or your hair looks funny-change it! Keep taking a variety of pictures so you have multiple to choose from when you get home. Nothing is more disappointing than thinking you have really cool pictures, then getting on the computer and realizing someone has their eyes closed or is making a weird expression in all of them.
This is especially important when the whole family is in the picture. It’s harder than you think to get a picture where everyone’s eyes are open and everyone is happy with their expression.
SHOP MY GEAR
If you’re looking for an entry-level DSLR, consider this camera:

Here is the camera I currently use:

Here is the lens I use most of the time:

This is an affordable lens that is a great addition to your photography kit:

I hope these tips are helpful when thinking about getting pictures of your family travels. Creative travel photography is fun but can also be overwhelming. The best thing I can say is to keep at it. The more you practice the more you will learn! Hopefully implementing these ideas will make your next travel photo album the best one yet! What are your favorite family photo tips?